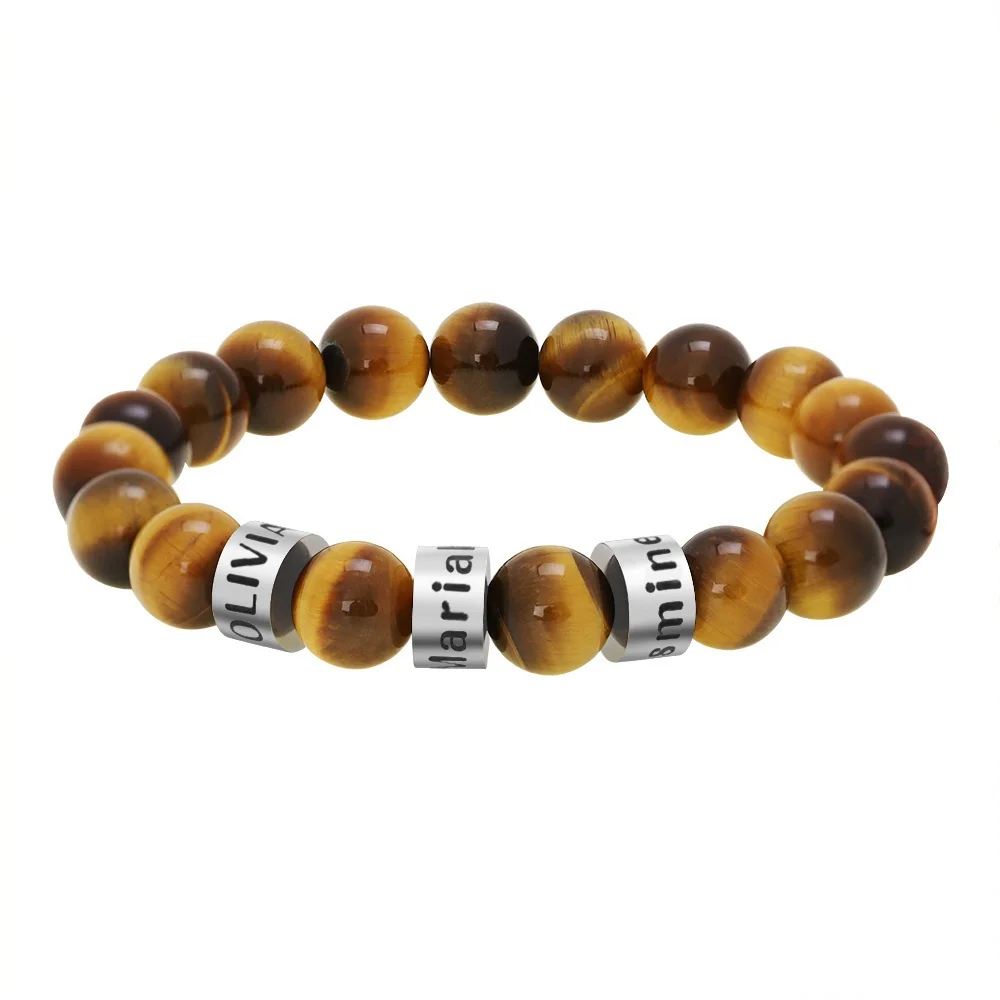
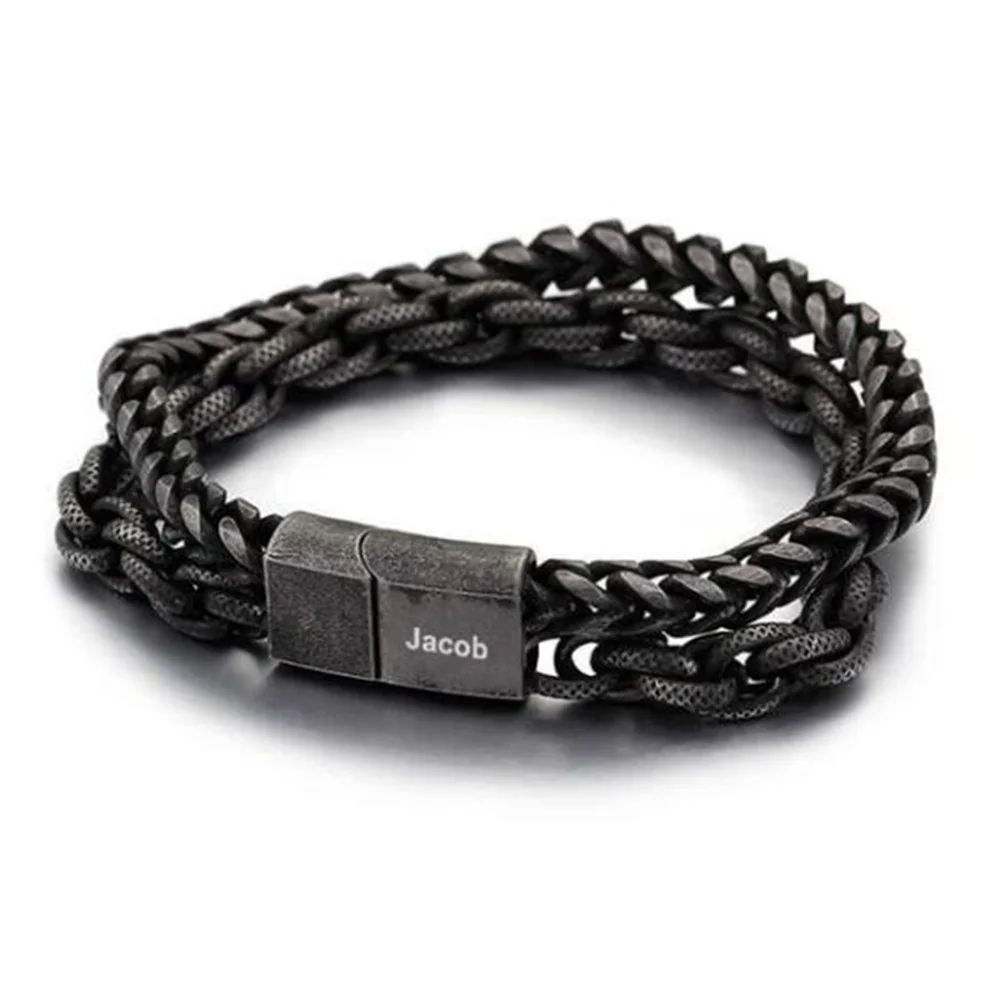
Measure the wrist first, then compare that measurement with the sizing instructions for the bracelet you are considering. Your wrist circumference is a starting point. It is not automatically the bracelet length you should buy.
You can take the measurement with a flexible tape. A strip of paper and a ruler also work when you keep the paper flat and mark the meeting point carefully. Tiffany describes both approaches in its bracelet measuring guidance. Its product sizes apply to Tiffany pieces; do not transfer that chart to another brand.
Take a measurement you can repeat
Choose the wrist where you expect to wear the bracelet. Wrap the tape or paper around that wrist, keeping it in contact with the skin without pulling it tight. Record the point where it meets itself. With paper, lay the marked strip beside a ruler and measure from the starting edge to your mark.
Repeat once. If the readings differ, check whether the strip was twisted or whether you measured a different place. Record the measurement rather than rounding it to the nearest available product size.
Keep the unit attached to the number
“Seven” is not enough information to send a seller. Write “7 inches” or “17.8 cm,” and identify the number as wrist circumference.
These conversions illustrate units, not recommended bracelet sizes. They use 1 inch = 2.54 centimeters and round the result to two decimal places.
| Wrist circumference in centimeters | Approximate inches |
|---|---|
| 16 | 6.30 |
| 17 | 6.69 |
| 18 | 7.09 |
| 19 | 7.48 |
| 20 | 7.87 |
If your original measurement is 17.3 cm, retain that value when comparing specifications. Rounding it first to 17 cm adds an avoidable difference.
Ask what the product measurement describes
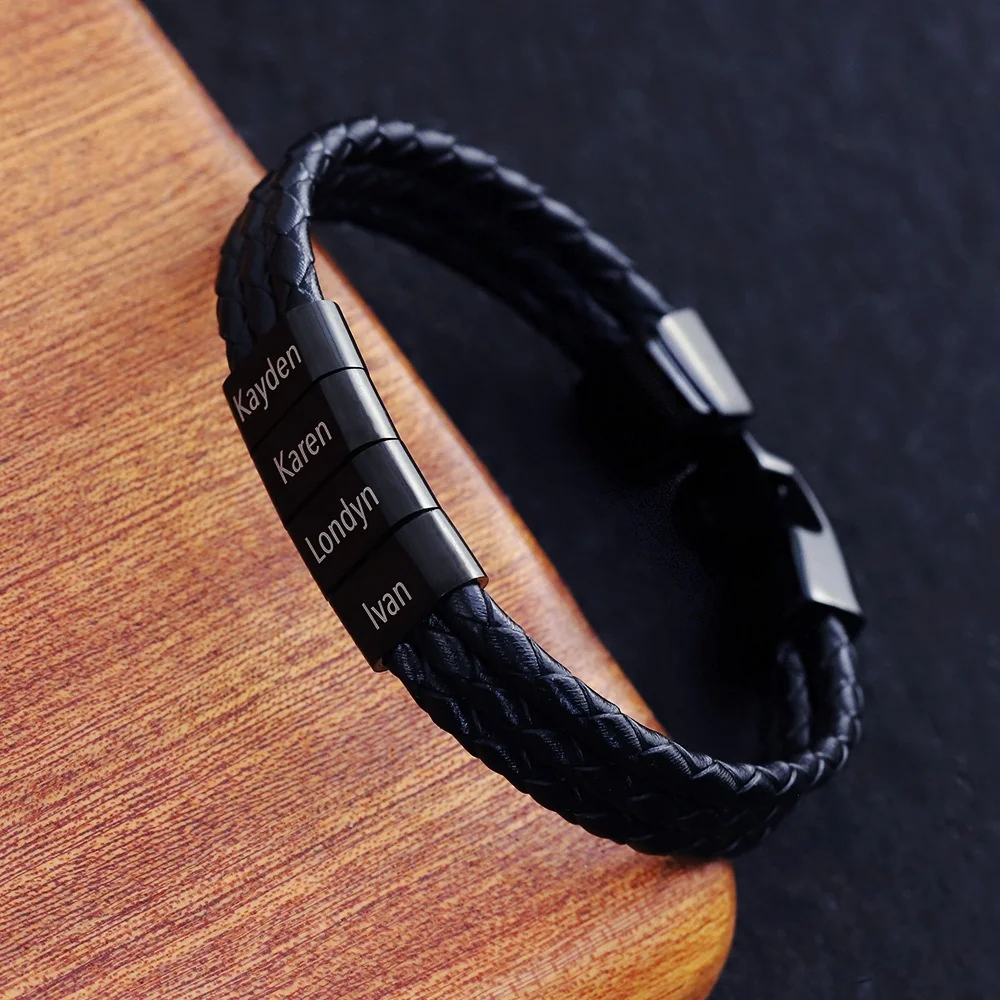
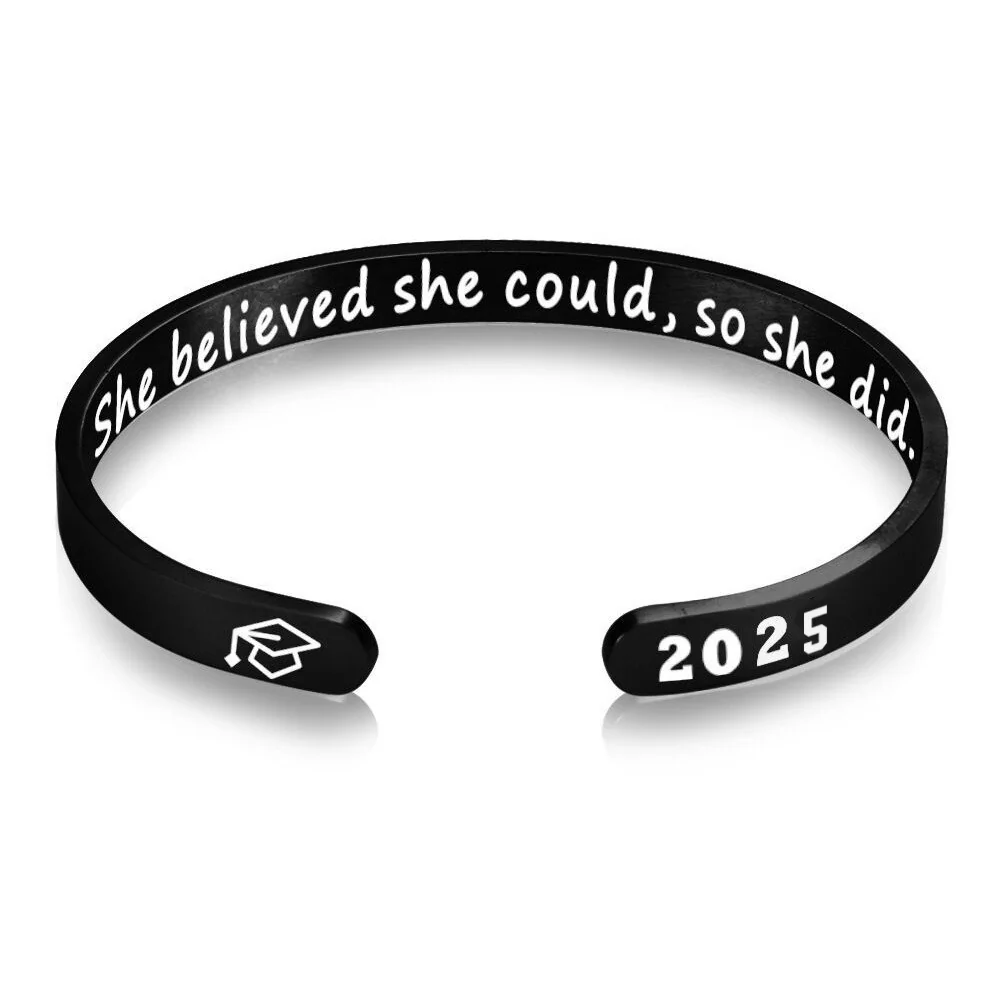
A listed length might describe the bracelet laid flat, the usable length when closed, or an internal measurement. Those are not interchangeable. A clasp, a thick row of beads, or a rigid shape can affect how a piece sits, so a universal “add this much” rule is not enough for every design.
Use this question when the description is unclear:
“My wrist circumference is ___, measured in ___. For this exact option, what wrist range is recommended, and what does the listed bracelet measurement include?”
For an open cuff, ask for the relevant internal dimensions and opening guidance. Do not assume you should bend it until it fits. For a bracelet described as adjustable, ask for its actual minimum and maximum usable range.
Make a small fit record
Save four items together:
- The wrist you measured and its circumference, with units.
- The product and option you are considering.
- The seller’s explanation of the listed size.
- Your preference for closer or looser wear.
That record prevents a second measurement or a different option from silently replacing the first one. If you already own a bracelet you like, note its fit as a reference, but do not assume its outer length gives the correct size for a different structure.
Energvia’s bracelet collection currently provides design references. Approved selling dimensions are still missing from the product evidence reviewed for this guide. Until those specifications are supplied, a wrist measurement can help you prepare a useful question; it cannot establish which Energvia size will fit.
Keep the measurement conditions consistent
Clear a small workspace before starting. Put the ruler, paper strip, pen, and record sheet within reach so you do not have to hold a moving overlap while searching for something to write with. If using paper, choose a strip that can sit flat around the intended position. Mark the starting edge clearly; an unmarked fold or torn edge can make the later ruler reading uncertain.
Take the second reading as a fresh measurement. Remove the strip, place it around the same position again, and make a separate mark. Looking at the first mark while adjusting the second attempt can encourage you to reproduce the previous result instead of checking it. If the readings disagree, preserve both until you understand the difference.
Record how you chose the wearing position. A note such as “left wrist, at the place where I normally wear my bracelet” gives a future comparison useful context. Measuring higher up the arm and then comparing the result with a wrist measurement mixes two locations. If the wearer plans a different position, describe it explicitly rather than allowing the seller to assume the usual location.
Turn two readings into a useful note
In this fictional example, a wearer records a first reading of 17.3 cm and a second reading of 17.4 cm. The note retains both values and identifies the same wrist and position. It does not average them into a supposedly exact product size. The wearer also writes that they prefer a piece that stays near the wrist during desk work, leaving the product-specific allowance for a confirmed sizing explanation.
If an overlap mark is broad enough that you cannot distinguish the reading, start again with a thinner mark. If the ruler's divisions are too coarse for a close choice, describe the result as approximate. More decimal places in a converted value do not improve an uncertain original measurement.
Your completed record should allow someone else to distinguish what you measured, how repeatable it was, and what wearing preference you described. Keep any candidate bracelet lengths in a separate column. This preserves a reliable starting point while leaving the actual fit decision attached to the exact bracelet construction.